
How to start a travel blog with WordPress?
How to start a travel blog with WordPress? Now is the period when people have more time for themselves and for others. If you have ever planned to write a travel blog then this is the right moment. This detailed guide will show you exactly how to start your own travel blog. I will show you how to make a Travel Blog In Five Easy Steps! As a travel blogger one question, I often get asked is how do I start a travel blog? Starting a travel blog has been one of the best decisions I’ve made, so I’m happy to help anyone who is really interested.
I started TravelFree blog in July 2014. Almost 6 years we are constantly searching for amazing deals and lowest possible prices to share them with you, so You can buy them yourself without any commissions, writing and giving many tips to travel smarter and writing blog posts about destinations! I had absolutely no ideas on how to start a blog, but if you have a goal, then everything is possible. So, do not be afraid, just begin…
Step 1: How to start a travel blog with WordPress? First of all, choose a name for your travel blog
If you already know what you are going to call your site then you can progress to the next step of ordering your domain and hosting. But remember, it is really important because with your name you will be communicating with people.
Once you have picked a name you’re ready to register your blog name and get a domain and hosting package.
Step 2. Getting Your Blog Online.
To get your blog online you need to set up hosting (see the next paragraph) and you need to buy your blog name (this is referred to as your Domain Name). It’s much better and easier to use the same company to both buy your domain name and set up the hosting. Then when you have any issues, you only have one point of contact.
For domain and hosting, I personally recommend A2 (I use it for www.travelfree.info) if you have a bigger website or Bluehost if you have a smaller website or a blog. With Bluehost, you get a free domain with your hosting (a domain name normally costs about $10-15 a year to register).
Let’s get your travel blog started today. This is what you see if you check Bluehost… (let’s check for this hosting company as mainly of you will have not big websites at the moment

PICK YOUR PLAN:
Now you have to choose which hosting plan you want, the cheapest option is absolutely fine for the beginning, so you can choose starter plan.
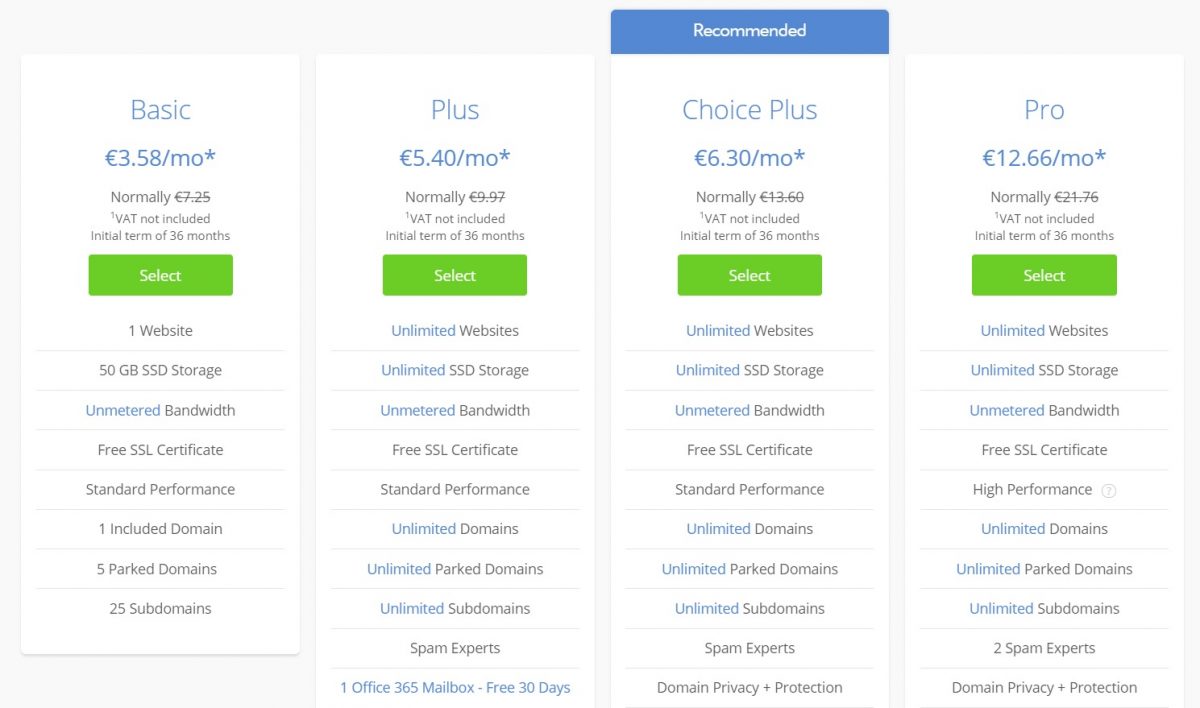
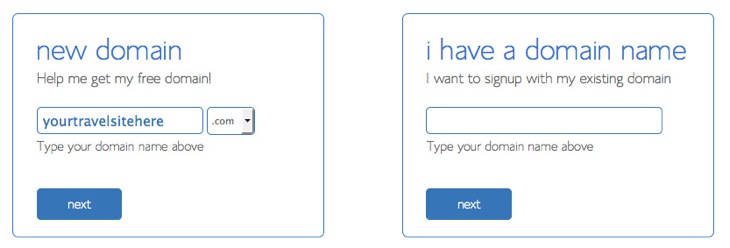
Next, you will be asked to register your domain name and it is totally for free. Yes, for free. It is included already in price what will you pay for hosting.
You can choose to sign up your hosting for 1-3 years, with the prices varying from between $3.95 and $5.95 per month.
All the extra stuff you can add on? Remove it all. The only one you may choose to keep is domain privacy so no-one can find out who owns your blog.

Now you have a domain and hosting for your travel blog. The next step is to set up WordPress.
Step 3. Set Up WordPress
Okay, this is probably the step that all of you have been waiting for. If you want to start a WordPress blog on Bluehost then continue reading.
This part isn’t hard at all. Bluehost makes it easy to create a WordPress blog and it is FREE.
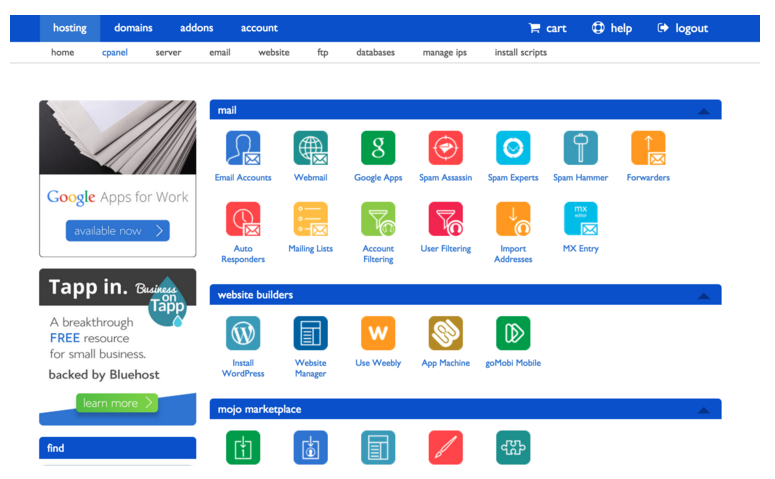
- When you are in your cPanel (you will receive a link to this in your welcome email from Bluehost), find and click on the image that says “One Click Install.”.
- Then, click on the WordPress icon on the next page located under “Blogs.”
- Click on the “Start” button. This will begin the installation.
- Once in the installation process, you will have to decide which domain you will want to install WordPress on. Click the drop-down menu to the domain you plan on using.
- Now, you will see “Advanced Options.” This is where you choose your username and password for your WordPress website. You should choose something secure. Don’t use “Admin” as your username. For my website, I receive many hackers each and every day and that is the number one username they use to try to hack my website. Instead, create a username that is a combination of different letters, numbers, and anything else you can use. You will want to check “Automatically create a new database for this installation” as well unless you already have a different database (if you don’t know, then you probably do not).
- Click “Install Now.”
- Remember to save your username and password.
GREAT! Now you have a WordPress blog. You will have to work on the design and producing high-quality content, of course.
Step 4. Login into your Site and Design Your Blog
Now you need to install a design (referred to in WordPress as a ‘theme’) for your new blog. You’ve sorted out your hosting through BlueHost, now you have to renovate your site (by adding a theme on WordPress). If you to go to the URL (remember that the full version of your site, like www.travelfree.info for me, for your site http://www.yourwebsite.com), you’ll see a basic website. Now you need to make it look good.
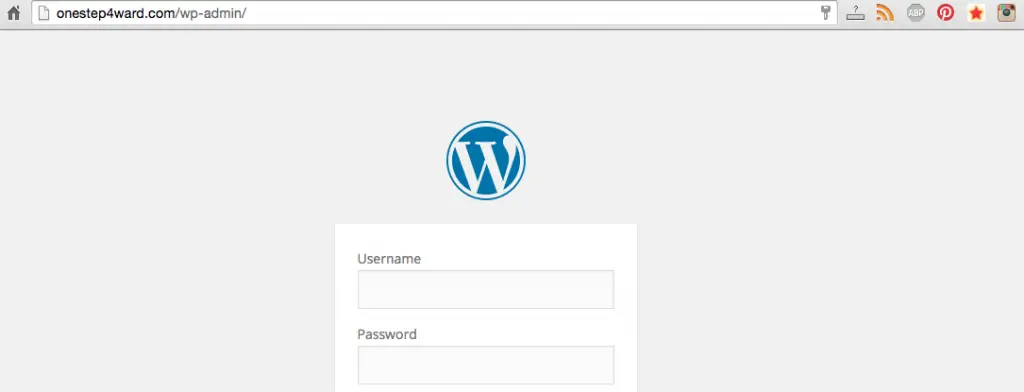
Now go to: http://www.yourwebsite.com/wp-admin…

Log in to your website here…
Once logged into the backend of WordPress, you go to the sidebar on the left-hand side, find ‘Appearance’, hover over it, and click ‘Themes’ when it pops up.

There are hundreds of free themes you can choose, so choose the one you like the look of, hover over it, and click activate. Don’t worry, none of this is permanent, so you can try a few out, once you’ve chosen one and clicked activate, go to the address bar, type in your new website URL http://www.yourwebsite.com and you can see your new theme. So, it is Done!
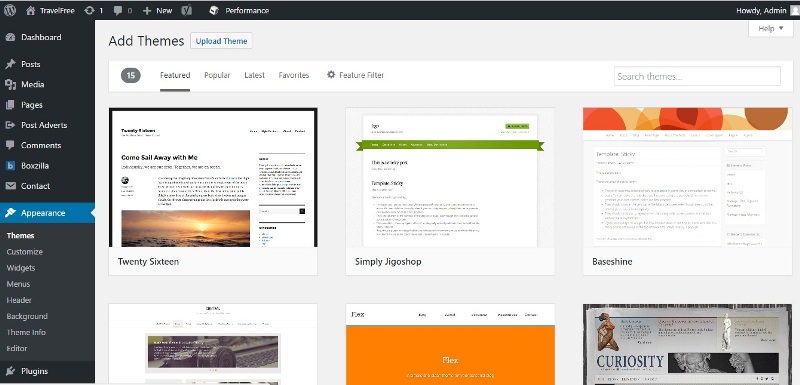
Choose a free theme, and click ‘activate’
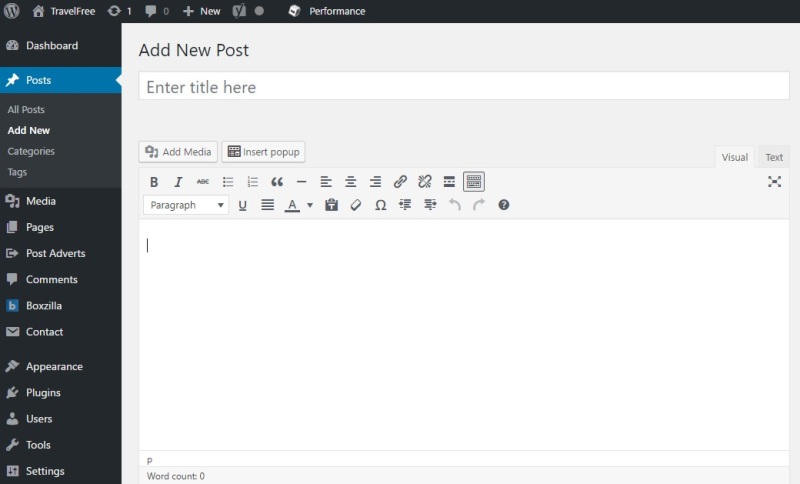
All’s left now is to publish your first blog post, so go back to that black sidebar on the backend of your WordPress, hover over ‘all posts’, click on ‘add new’. Then title your blog post ‘Wow, my first post!”, and in the subject box write everything that you want would be in the article, click publish on the right-hand side.
Now go back to the live version of your new blog http://www.yourwebsite.com!! It’s online, CONGRATS!
Step 5. Add Some Plugins
You can think of WordPress plugins as third-party apps for your website. They give your blog additional features. Most plugins are free, some you have to pay for. You can download new plugins in the “plugin” section of your WordPress Dashboard.
Here’s my recommended list of plugins to install with your travel blog.
- Anti-spam – Protects your blog from spammers leaving comments on your posts. Not perfect, but probably the best one out there.
- Yoast SEO – The first true all-in-one SEO solution for WordPress, including on-page content analysis, XML sitemaps and much more.
- Easy Social Share Buttons – Nice social media sharing buttons for your articles.
- Wordfence Security – Makes your travel blog secure.
- Disqus for WordPress – helps publishers increase engagement and build loyal audiences. Supports syncing comments to your database for easy backup.
- Social Warfare – A plugin to maximize social shares and drive more traffic using the fastest and most intelligent share buttons on the market, calls to action via in-post click-to-tweets, popular posts widgets based on share popularity, link-shortening, Google Analytics and much, much more!
- LiteSpeed Cache – High-performance page caching and site optimization from LiteSpeed
There are a lot of others of course, but these will get you started.
If you have any questions, please feel free to contact us, we will help you!
Here is also a video for you to launch your travel blog on WordPress quickly and easy on BlueHost.